Goal
One of the most difficult parts of being prepared is deciding where to keep your hard-earned preparation materials.
You may have already stocked your home, your garage, your garden shed, your workplace, your car, and created a bug-out bag/go bag/I’m never coming home bag. But what if you need to re-stock your supplies after some time due to consumption? What if you have to evacuate your primary location and you need supplies on the way to your next destination? What if you have been forcibly displaced from your home?
All of these these scenarios are related to what you do if you’re desperate. If you are sufficiently premeditated about preparing then there is less anxiety that leads to despair.
So what do you do? You build a concrete cache in the ground and fill it with supplies with an exceptional shelf-life.
Location
So where do you place your concrete cache?
Like in real estate, it is all about the location. The location is dependent on what you’re trying to accomplish. Are you on your way to somewhere else? Are you trying to diversify your risk by not having everything in one location? Do you need a place to put supplies to get your stuff back if someone takes over your primary position? All are scenarios, but in reality it’s about diversification and risk mitigation.
It needs to be somewhere:
- Not traveled heavily, especially by large equipment
- Somewhere above the water table
- Not in a water route “100 year flood zone”
- Not in a utility easement
- Not where someone is going to be asking you why you’re digging a giant hole or you have to do it covertly
- Not somewhere you have to pull permits unless you want everyone knowing where it is
Construction and Materials
We prefer concrete and steel first for everything. It lasts a long time. It doesn’t rot and is very water resistant as long as it is properly mixed and cured/coated. It is easy to work with. It is easy to handle. It is inexpensive. It is heavy so it doesn’t float (believe it or not, concrete does float when you turn it into a boat–ever notice in-ground pools are never fully drained in the winter time?).
How big do you really need it to be? The larger it is, the more expensive and difficult it is to build. This is especially true when constructing the load-bearing top. The larger it is, the more difficult it is to conceal.
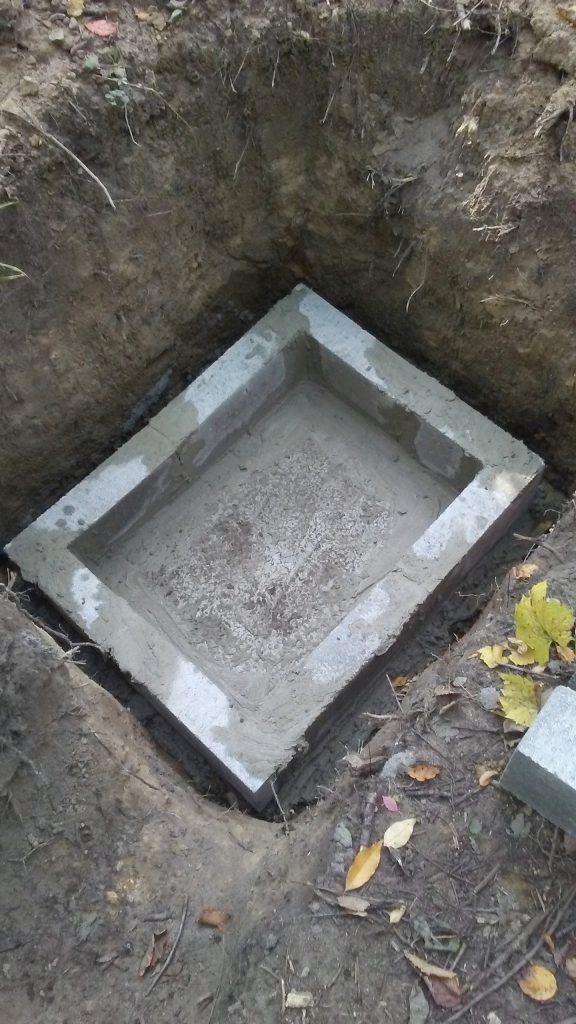
In this example, we’re going to build a 24″x36″x24″ box out 4″x8″x16″ solid concrete block. This size was chosen specifically for what was planned to be placed in it. It will have a 4″ thick concrete bottom and a large steel lid. It will be coated on the interior with acrylic/latex roof repair sealer and covered with rubber roofing.
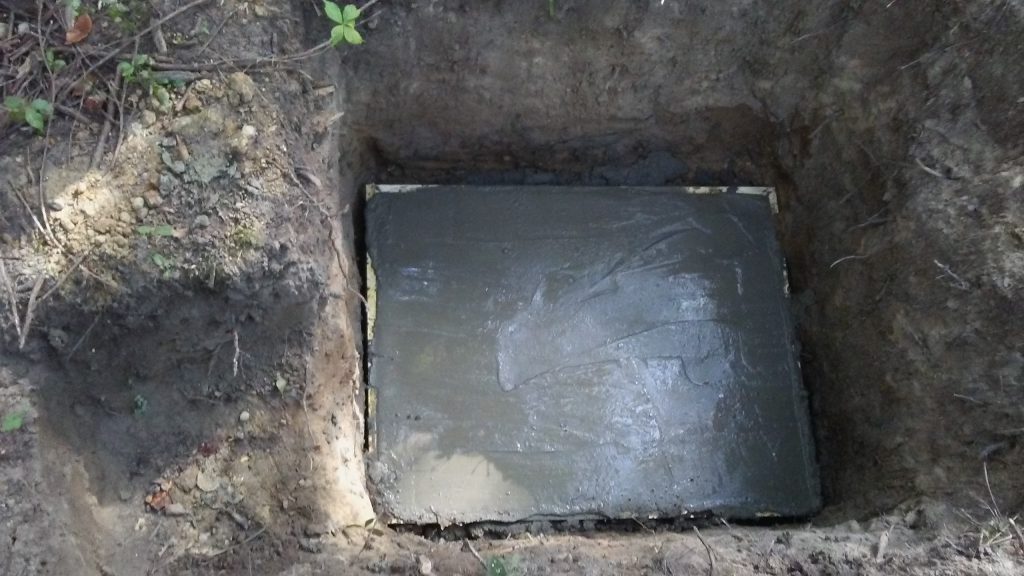
Dig a hole and pour a slab
The hole should be slightly larger than what you’re going to be building in it. Keep in mind once you get to 4′ deep you really need to be mindful of cave-ins. You need to be aware of the frost line in your area so you know the depth at which your lid needs to be and your local agricultural extension office can help you determine that. If it doesn’t matter if it freezes then you don’t need to worry about depth, just covering it so it is disguised.
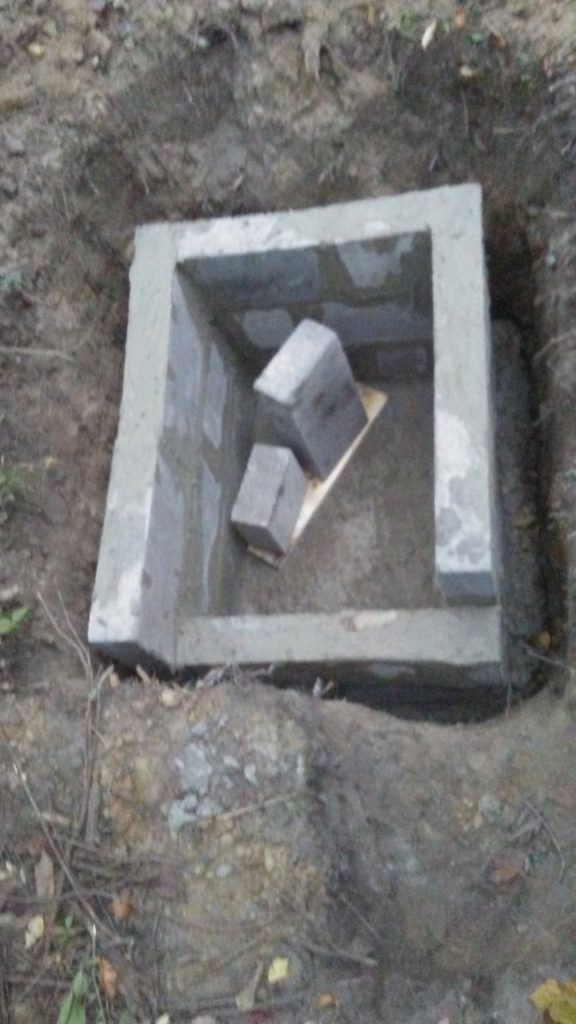
The second and third (final) course going in. Here you can see better the alternating corners for strength. The cut block was cut with a masonry saw but you can use a masonry block splitter also. This was all done in the dark so the picture is kind of bad.
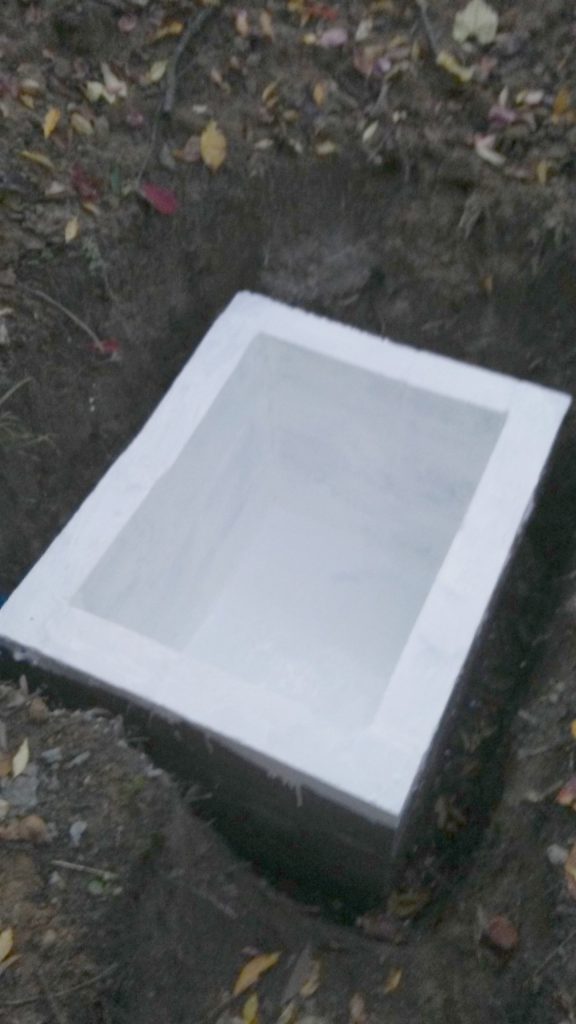
After a week or so of drying with a tarp suspended over it was coated it with an elastomeric rubber roofing paint. It is acrylic/latex based. Decent luck has been had with Sealbest brand and Gardner STA-Kool brand. Buy whichever is cheapest for you locally. The thought is that you coat the inside so then the concrete block can breathe outside. It took almost three weeks for two coats to dry due to it being cool outside and raining a lot.
While waiting for the concrete box to be ready a lid was built. Steel is a good option for the lid. It is fairly inexpensive (around $1/lb), exceptionally durable, and fairly easy to work with. You can build one out of treated wood but it’s going to be heavier and more expensive (3/4″ treated plywood is in excess of $50/sheet locally). The bottom side has a piece of angle welded in the other direction.
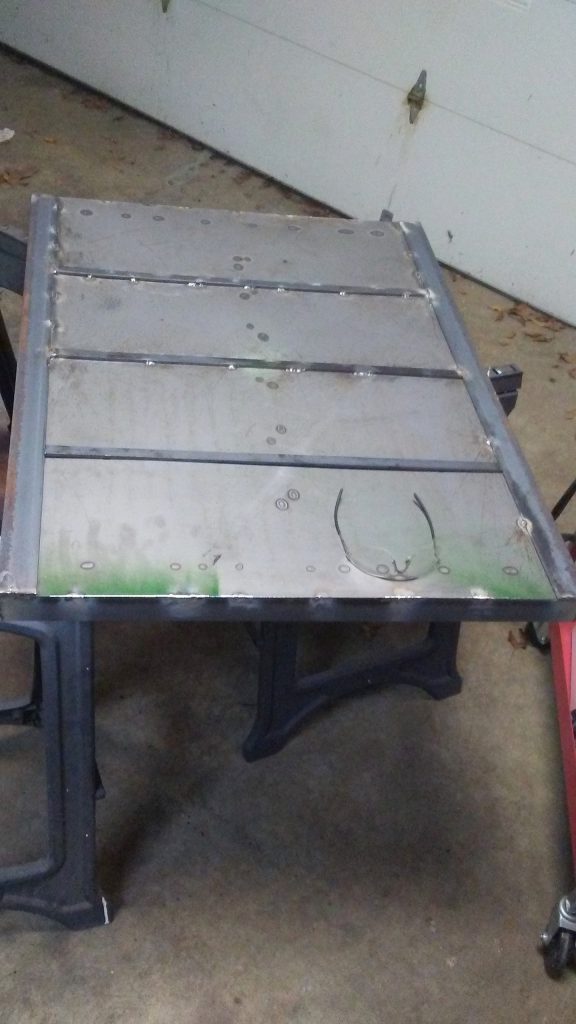
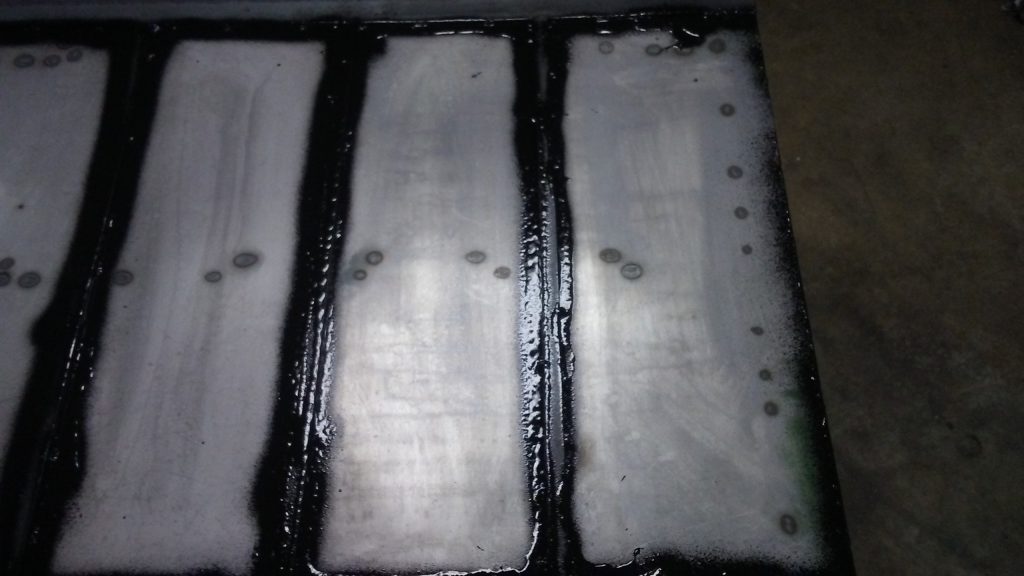
The lid needs to be prepared for use. After it is welded it is then cleaned with Xylene (aka Xylol) then anywhere water could easily get it and puddle is filled with Rustoleum Leakseal (or something similar like Flexseal). Once it has cured it is then painted with Rustoleum Hammered (or something similar). Buy whatever is least expensive locally, as long as it is a quality product. Keep in mind that 14 gauge steel literally takes a long time to rust through, but we still need it to be structurally sound for heavier things going across it (like ATVs). A coating buys us more time.
Preference for a hinged lid, but it is not necessary. Once the final location of where the lid will contact the concrete box is made then it is time to seal the gap. Something as simple as a garage door seal (a high quality closed cell foam is fine). If water is a problem then consider sealing with a non-hardening sealer like Dicor Butyl tape used on travel trailers. Find whatever is cheapest for the best quality locally .
Those are three 81mm ammunition (mortar) cans (with three 30 caliber ammunition cans inside). There are nine 50 caliber ammunition cans (some of which have 30 caliber ammunition cans inside). Each can is labeled with what is inside.
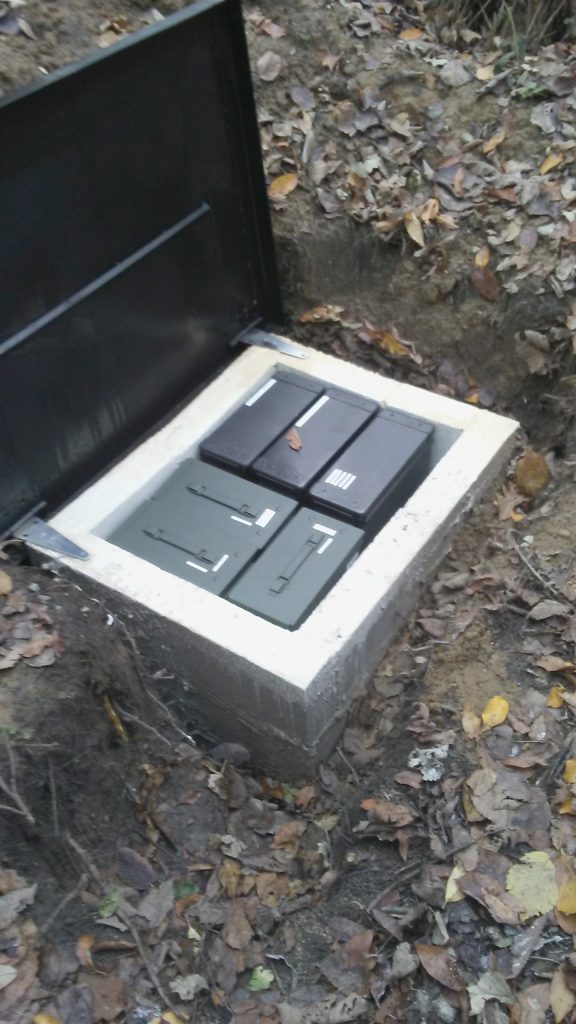
The lid gets a piece of .050″ EPDM rubber roofing draped over it then backfilled with sand and covered with approximately 18″ of dirt.
